Do It Yourself, Hardwood Floor Installation Tips
You might be surprised to learn that you can install hardwood floors yourself with the right tools. This is a great project if you already have some skills. Usually, pre-finished planks are available at your local hardware store, and it is not too difficult if you do it step by step. Updating a home’s flooring is one of the best ways to increase its value. With an authentic hardwood floor, you don’t need to worry about the trends that come and go. Hardwood floors provide a style that will last long before it needs another update. No wonder they are so popular among homeowners today! Luckily, installing them isn’t difficult as long as you have all necessary tools at hand, time and some skills. If something still goes wrong along the way, just keep in mind, there are plenty of resources available online which can help you to get things back on track quickly. If DIY hardwood floor installation is something you are looking for, consider these following tips:

1. Decide the kind of wood you want for your room
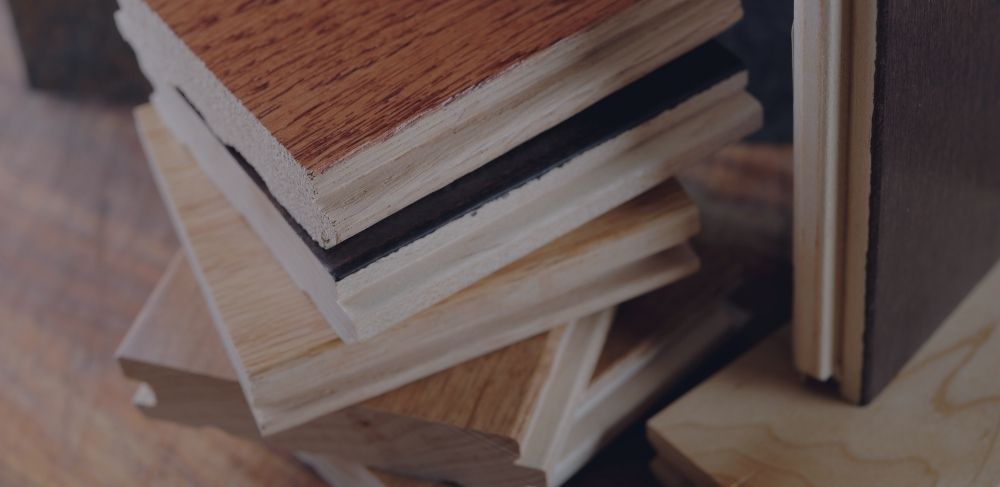
When it comes to choosing the right hardwood material for your project, oak is considered one of the best and most durable choices. Unfortunately, it also is the most expensive wood on the market. However, if you are working under a particular budget then maple or rustic ash will also do just fine. They have similar properties as well! Remember, when deciding on a floor, you should always consider the maintenance effort each kind of wood needs.
Hardwood floor installation is never an easy task. But if you are tired of paying high prices for workmanship, maybe it is time to take matters into your own hands and learn how to do it by yourself. You will need some knowledge, patience, and tools, but it is possible!
2. Prepare the material you need beforehand
You cannot install hardwood floors without the right tools. Have a think about what you may need to help you get this job done neatly.
Here are some basic materials you will need on your equipment: hardwood planks and a vapor barrier paper, a hammer, speed drill, pry bar, a complete pneumatic flooring pack, a tape measure, a staple gun, chalk line and don’t forget your manual!
You don’t want to lose time or energy by starting a project wrong, so make sure you study the manual before going at it. You can find prepackaged wood installation necessities in most hardware stores, which will save you the hassle of looking for each single piece of equipment separately, safety goggles and gloves included!
3. Measure your room
The first thing you need to do before buying hardwood floor planks is to measure the surface of the room. Order enough wood so that 10-15 inches are left over, because it’s impossible for errors not to be made during the installation! The first attempt will be a little difficult, but after you get the hang of it, everything should go easily from there on.
4. Set up the subfloor
A good preparation of the subfloor is just as important as the installation of the hardwood floor itself. It all depends on what type of material currently is available to you. If there is carpet, remove the underlayment with pliers before removing tack strips.
If you are replacing other floors, be prepared for some extra work! If you have a vinyl floor, it is not easy to cut through. The hardest part is removing the old and rough surface beneath it, which requires scraping up every inch with a scraper before sanding down again so that new layers can stick better during installation time!
You should do a final check for any remaining nails, underlayment, or uneven subfloor before you install solid hardwood flooring. You can use an old steel dustpan and scraper at a sharp angle across the entire room to find anything that could get in your way later on. The preparation might take some time but makes the actual installation go a lot smoother.

5. Moisture barrier
It is important to use a paper underlay as the moisture barrier in most climates. Not only will it keep things from sliding around, but also protects your flooring from the moisture!
You should check with local suppliers before installing anything.

6. Decide which direction you want to install the floor
When deciding on the best way to install wood flooring, it is important that you consider your space and what direction will work best. You may want to think about how much light comes through a window or door before making this decision. Most people lay their floors according to the available sources of light, which helps accentuate any interesting grain patterns.
7. Install the floor
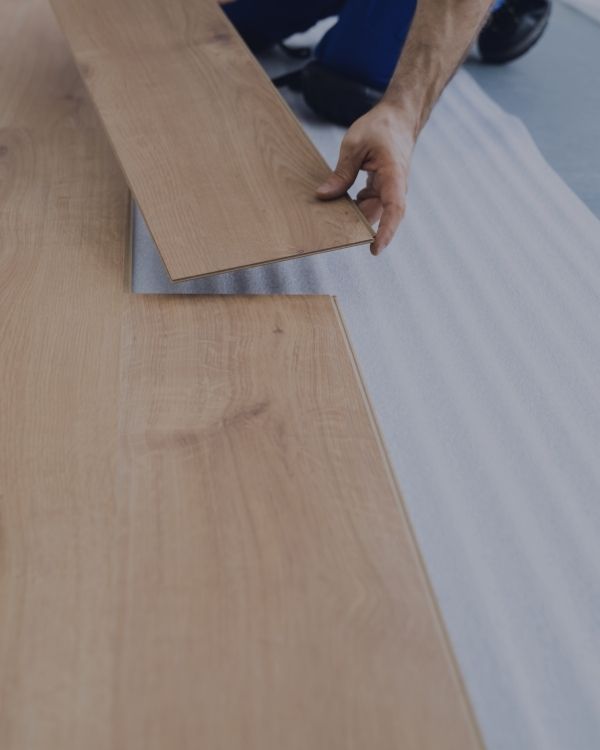
Installing wood floors is a job that requires careful consideration. The type of flooring you have chosen, and the subfloor will determine how it is installed. There are many different options for installing them! Some methods include floating over an underlay, gluing down and secret-nailing. Whatever method works best in your house, it needs some planning. You can save time by reading all instructions thoroughly beforehand, so nothing gets missed out along the way!
Conclusion: Take time and be patient
Installing hardwood floors is a simple process that anyone can tackle. Nevertheless, if you are just starting out with this project, then give yourself plenty of time to work it out. Even for the simpler designs and installation methods, there are still some important steps in-between which will keep errors down when installing the hardwood on your home floor. Be sure to have the right tools, as well as a friend or family member who can help you out, before starting this project. Most of all, be patient with yourself, mistakes are bound to happen, but they can always be fixed!


